Saturday, June 28, 2014

Landscape

In this project I tried to focus on picture that are landscape, but may not be typical. This first photo I really enjoyed the changes in elevation, as well as the fence as a barrier. 


Of course I did have to do one sunset photo. This was actually taken after the sun set to work on lighting techniques. 

I really like the golden coloring of the hay in this photo. I am upset about the line in the top but I am sure I could try to edit it out once I have more practice. I chose to take this photo because it is an accurate representation of the landscape I have always grown up around. For others, their idea of landscape may be city lights at night. That is what I find cool about landscape, it truly just is the area around you.


This is actually a photo from my house. In general, I would not find it a good photo but working with my idea of what I grew up considering a landscape, this is what I saw everyday when looking out into my yard. I think it represents my family perfectly with the odd array of objects under the patio. 


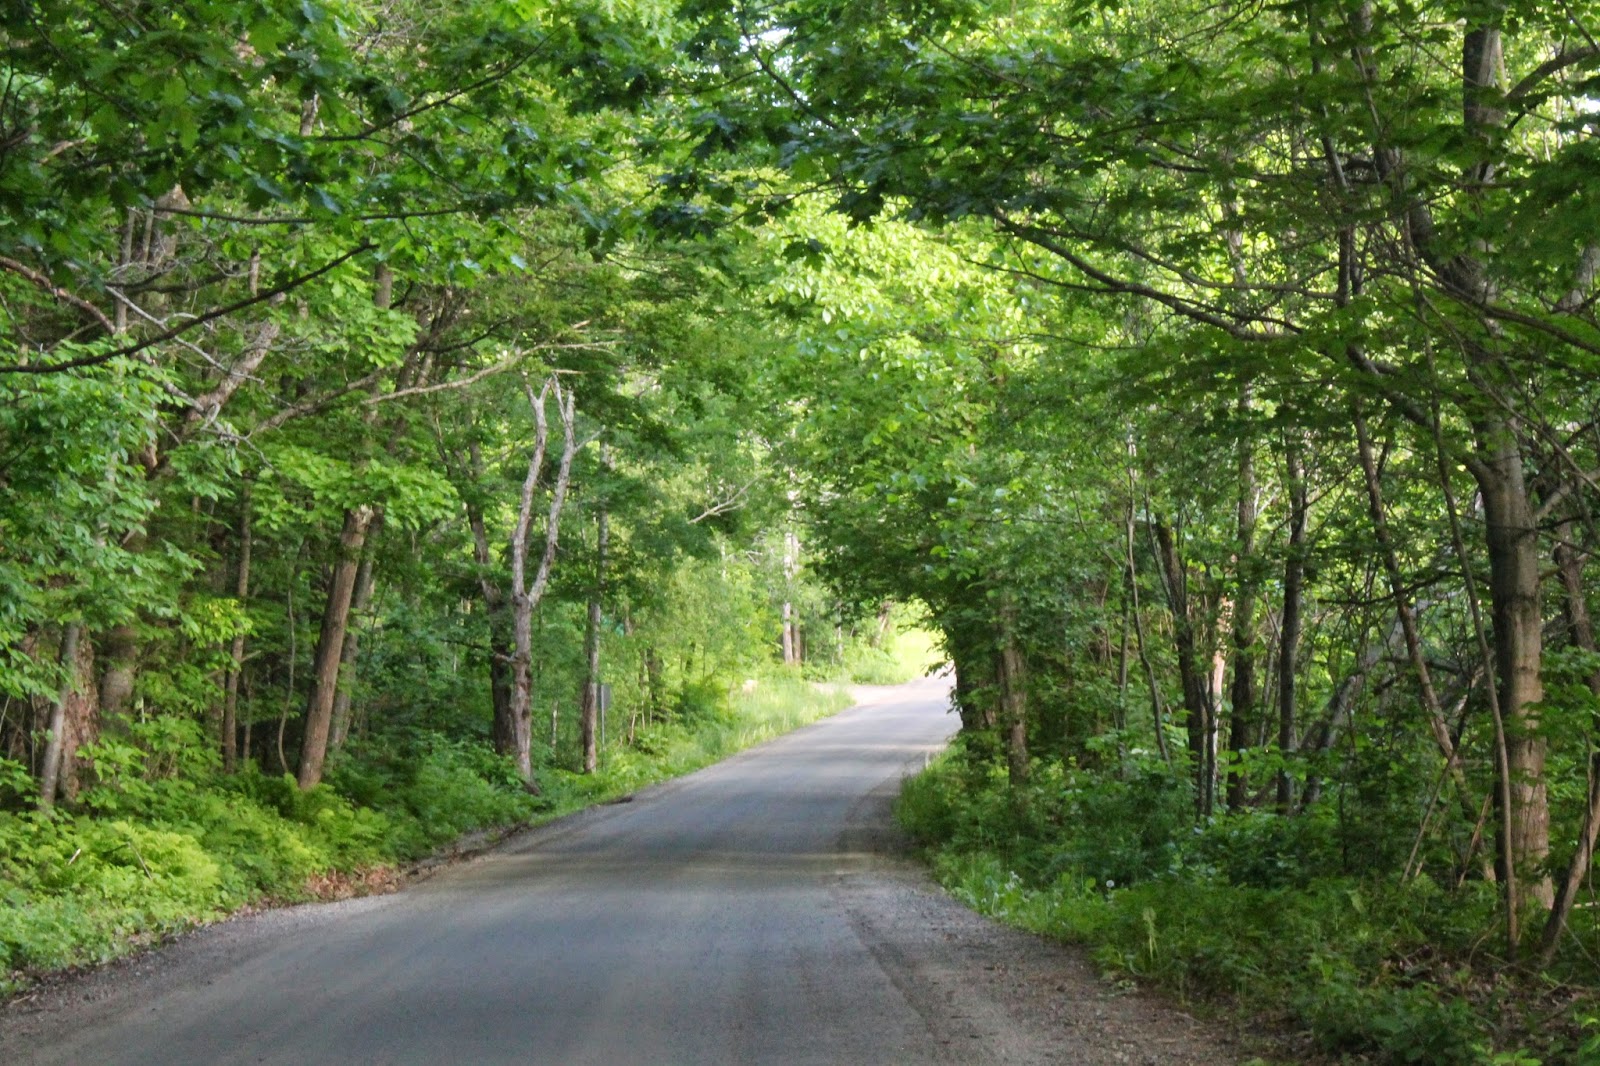
I thought this photograph would be interesting to put in the project because it is not what most people would think about when considering a landscape. 

This is more of a smaller scale landscape but I thought it was an interesting shot, with the folding chair on a side of the barn. If I knew the farmer I think it would have been cool to also get a shot from the perspective of sitting in the chair and posting them together.


As for getting the perfect photo of a landscape I am not quite there. I am not used to taking photos on a large scale, as I prefer smaller scale photos so I am still experiencing with this. For landscapes though, I think it is about capturing what is real, not just what is pretty.


Sunday, June 22, 2014

Composition Using Lines

This week I researched more about composition, specifically using lines in photography. I decided on this subject because I tend to notice lines in photos and see when they work well but I do not necessarily think about it when composing an image. Through the website photographyicon.com I learned about different kinds of lines.

Vertical lines in an image represent dignity, height and strength.

 Horizontal lines often represent rest, peace and calmness.

Diagonal lines elicit feelings of energy and motion. I have noticed this in pictures because often diagonal lines lead my eye in a direction quickly.

S curves are called the "Line of Beauty" and have meanings of strength as well as beauty. These are common in road and river pictures.

Leading lines in a photograph lead the viewers eye to the subject. For example, these can be fences, railroads and paths. Ideally, leading lines start in the lower left area of a photo, but not right in the corner.

I tried out taking some pictures deliberately choosing lines.

In this photo the horizontal lines of the dock create a peaceful atmosphere.


I thought the curved metal piece and broken wooden pieces created a slight feeling of mayhem intertwined with the familiarity of the white picket fence and farm.


I took this picture before reading more about lines and then notice how the black vertical lines on the sign create a feeling of authority, even though the sign is faded a low speed limit. I think this is a cool contrast.


Framing

As part of learning about composition this week we practiced framing. In this first photo I focused on the well and used the tree as a frame. 


I noticed an old buoy surrounded by wood. I tried to make the wood "frame" blurry, which I think you can see on the vertical piece. 


The next two pictures were inspired by one of the readings, where they used framing in landscape photographs. These were taken on an early morning walk around the lake and up to a farm in Northeast Vermont. I used the trees to frame the lake and the field. 


I think the next picture is interesting because the frame is not completely surrounding the cow's face, but just his nose. For me, this draws my attention to his nose, making it the focus of the image. 


In this photo, I also used trees as the frame. I like how they make an arch over the dirt road as it curves. 


Overall, I enjoyed this project. It pushed me to plan out the pictures I take more and deliberately look for framed images. 

Thursday, June 19, 2014

The Rule of Thirds

For one of the assignments this week we were practicing using the rule of thirds.


The first picture is where I used the rule of thirds. My focus point was the window and I put it in the right third of the photo. This left room for more of the fence and ferns to be in the picture, as compared to the second picture where I centered the window. The first picture seems more interesting due to this positioning. 


I practiced this again with this set of photos. I like in the first one since I moved the hinge to the left the top corner of the window was in the shot. In the second photo it is just the hinge, but I think it works better than the other centered image because of the closer details of the wood and the bolts on the hinge give something else to look at.


Friday, June 13, 2014

Different Lighting Effects


For this project, I played around with indoor lighting, since I do not feel comfortable with it and this is a perfect time to practice. I tired many different things, but these are the three I noticed differences in.


The first photo was shot with two lamps on in the house. One was in the front and the other was on the side. The one on the side did not have a shad over it and you can see the yellow-ish light it adds to the picture, as well as that there is more light on the left.


The second picture was shot only with the lamp on in the front. You can tell that the lighting throughout the photo is even, but there is not enough of it. Even with the flash it is a little too dark. This could also be partly because I always shoot in RAW format but did not edit these.

\\


The third photo has side lighting, to the right, and no front lighting. However, I put a sheet over the lamp to disperse the light more. You can tell by the shadows on the left side of the photo. I think this is my favorite lighting of the three.


Wednesday, June 11, 2014

Color Schemes

The first assignment of the week was to work on taking photos of different color schemes. The three different color schemes are monochrome, analogous and complimentary. The color scheme depends on what colors are present and where they lie in relation to each other on the color scheme.

For my first photo I focused on an complementary color scheme. This means colors that are exactly opposite each other on the color wheel. I decided to pick an object that is black and white because I think it makes it dramatic.

Analogous color scheme


The next color scheme I focused on was monochrome. This one was more difficult because I struggled with finding something that was just on color as well as would make an interesting photo. I think I will continue to grapple with this color scheme and see what else I can find. This is the photo I decided on however. I liked this one because of the different levels of the blocks of wood.

Monochromatic color scheme
This week I have noticed what an impact color can have on the photo. I will try to keep in mind some of the psychology of colors that we read about and see how it effects the mood of my photographs.

Friday, June 6, 2014

Macro Project

This weeks focus was on macro photography. I tried to get variations in my photos and not only to focus on objects, but different textures as well.

My collage
My favorite photograph, and the one I tried to highlight the most is the grass with dew drops on it. I also like the picture above it of the old frayed rope because it has interesting texture. I was surprised how much information a close up shot can show you. I have never focused on this type of photography so it was eye opening for me. I noticed things in the objects that I normally would not. It was definitely more of a challenge for me since I am not used to it, but I enjoyed being pushed outside of my comfort zone. I

Most of the photos were taken in the macro setting but I also did some in Av setting where I set the aperture because I could also set the focus point.I noticed sometimes in macro mode the camera did not know what to focus on and would not take the picture so I couldn't get the shot I wanted. It even did this in other modes as well. Does anybody have tricks for dealing with this